How to 3D print a shadow lamp
By Lampcaster · Updated
A shadow lamp is a small printed box with one LED inside. Its walls are shaped so that, when the light shines out past their edges, the shadow on the wall draws a picture many times larger than the lamp. Switched off it is a plain object on the wall. Switched on in a dark room, a tree or a kraken covers the wall.

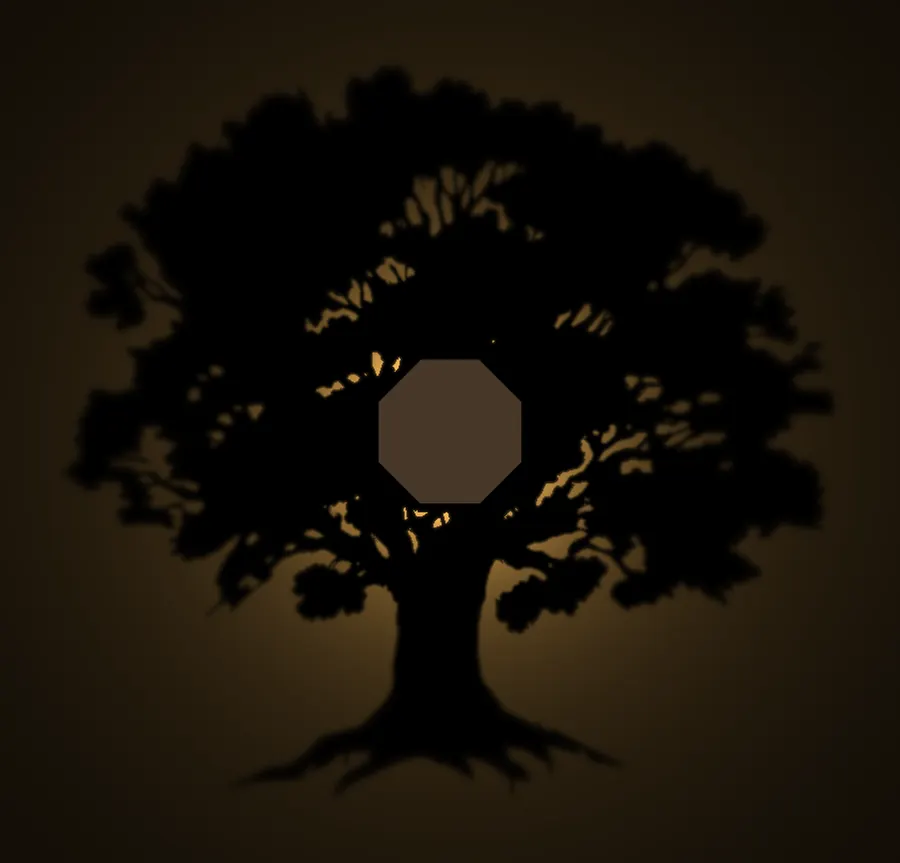
How the shadow forms
The LED is a near point of light. Every ray that leaves it either hits a wall and stops, or passes and lights the wall of your room. So each wall of the lamp is the drawing seen from the LED: the part of the picture near the lamp sits close to the wall's base, and the far part of the picture is squeezed into the top few millimetres.
- Reach is how far the shadow spreads, as a multiple of the lamp size. A 15 cm lamp with a reach of 6 throws a picture about 90 cm across.
- The higher the reach, the more the far detail is compressed, so the lines that carry it get thinner. Raising the LED inside the lamp and lowering the reach both thicken them.
- Walls have thickness. A ray passes the inner face and the outer face of a wall at slightly different heights, so the openings have to follow both faces, or the shadow edges blur and shift.
Choosing the artwork
Start from a vector drawing (SVG). Dark shapes become shadow, light areas become light.
- Give it a solid dark centre. The lamp itself casts a shadow. Place it on the darkest part of the design, such as a trunk, a body or the middle of a mandala, and it disappears into the picture.
- Flowing, organic shapes work best. Trees, tentacles, leaves and radial patterns read well when they are magnified. Fine hatching and thin hand-drawn lines do not.
- Let far detail point away from the light. Branches and tentacles that run outwards stay sharp. Detail that runs sideways at the edge of the picture smears.
- Pieces that float need bridges. A shape with nothing connecting it to the rest of the wall would fall out, so thin ties hold it on. The fewer floating shapes the design has, the cleaner the shadow.
- No dark frame around the art for open lamps. A filled background around the drawing casts a square of shadow.


Lamp shape
The lamp is a rectangle, triangle, hexagon, octagon, faceted (24 narrow sides) or round. The walls print flat as strips. Most shapes fold up at a groove in each corner, glued shut for solid, light-tight corners. A round lamp is one strip, warmed and rolled round, and slots in the back panel hold it to a true circle.
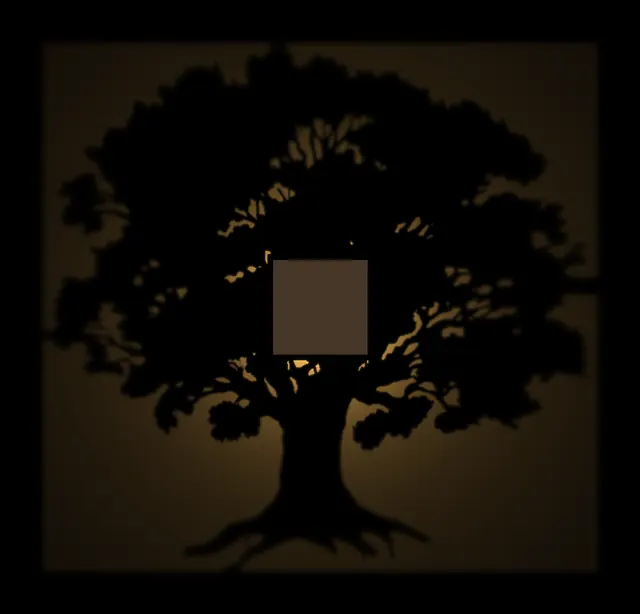
- Framed lamp: a closed front panel with a light hole, printed flat and pressed onto tabs on the walls. It lights a clean rectangle of wall, with the picture inside it.
- Open lamp: no front. The top edges of the walls follow the silhouette, so the light ends where the design ends. The LED hangs from an arm over the open top, facing the wall.

Filament and slicer settings
The limit is not the printer's accuracy but how thin a line it can lay down, and whether the walls stop the light:
| Setting | Why |
|---|---|
| Opaque, dark PLA (black or dark grey) | Light colours glow through thin walls and soften the shadow |
| Walls 2 mm thick, 5 wall loops with a 0.4 mm nozzle | Solid walls with no infill pattern to show through |
| Thinnest line about 0.9 mm | Two nozzle widths; thinner lines get dropped by the slicer or break |
| Print the walls flat, outside face down | Nothing is printed over air, so the openings keep sharp edges with no supports; upright, their top edges would sag |
| 0.2 mm layers | Fine enough for the top edge of an open lamp, where the silhouette is drawn |
If a design needs thinner lines than your nozzle can print, lower the reach or raise the LED rather than hoping the slicer keeps them. Always check the slicer's layer preview around the finest detail before you print.
The light
- Point the LED at the wall. An LED that faces the room dazzles and throws almost no shadow.
- Small is sharp. The smaller the glowing part of the LED, the crisper the shadow edges. An 8 mm straw-hat LED on two AA batteries suits small lamps; a 1–3 W LED on a small heatsink lights bigger ones.
- Mind the heat. PLA softens at about 60 °C. Keep a power LED on its heatsink and away from the walls, or print the lamp in PETG.
- Warm white looks like lamplight. RGB LEDs work too and can change colour by remote.
- Leave room inside for a battery holder, a switch, a USB-C socket or a small remote dimmer receiver.
Hanging it
The back panel has two keyholes printed in; hang the lamp on two screws. Hang it where the wall around it is plain and the room gets dark in the evening: the shadow is strongest near the lamp and fades towards its edges, so a big picture needs a darker room.
Doing it the quick way
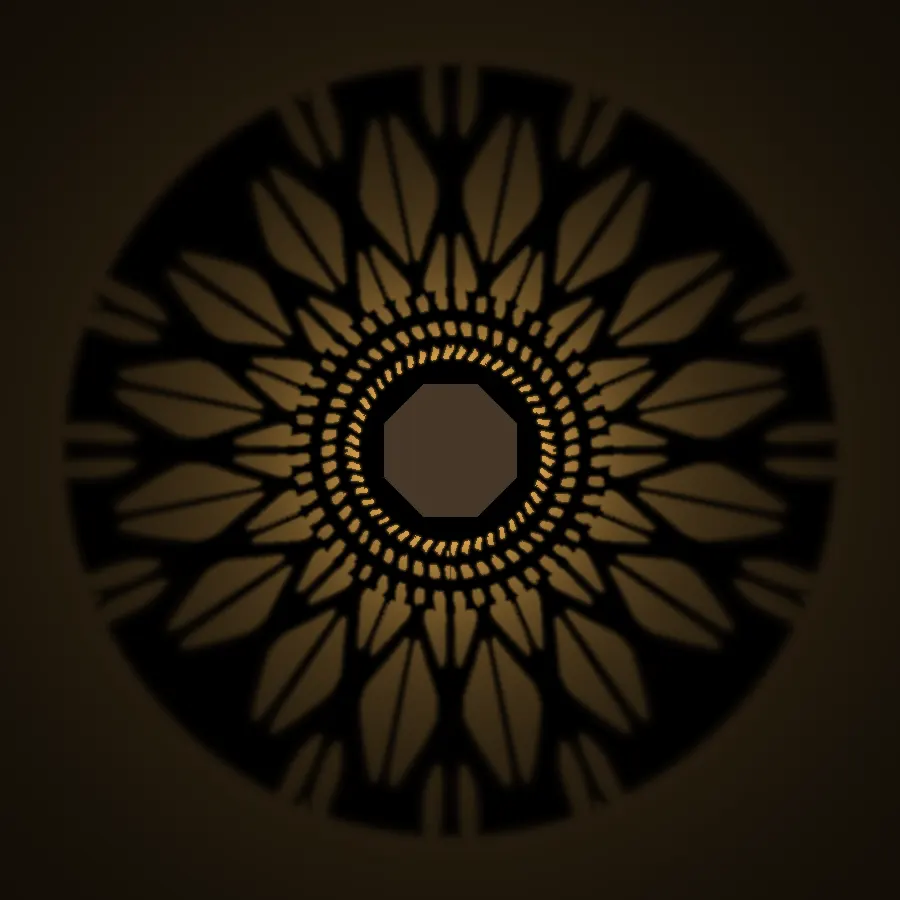
Working all of this out by hand takes many test prints. Lampcaster does it from your SVG: it places the lamp, shows the ray-traced shadow before you print, marks every line too thin for your nozzle, adds the bridges, and gives you the lamp body as one STL plus plates of flat parts sized to your print bed.